![]()
![]()
712-578-9336
Home | All Kits | Foam Wings | Accessories | Custom Foam Cutting | Contact Us | View Cart
Mach One Build Photos
This won't be a full build thread, it will just show the construction of the framework, to show the differences from the original.
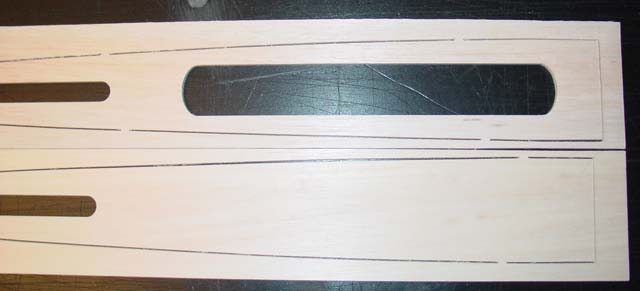
Former sheets:
You will notice 2 of the middle rear former, one with pushrod guides, one without. It may stay that way, it may not. The top & bottom 3/16" pieces will be precut, to keep the shape more accurate, along with a few lightening holes. The longer bottom piece does not have a lightening hole where the wing goes, since it will be cut out after the sides are attached anyway. Fin ribs, Nose ring, fuse sides, and doubler sheets are not shown.
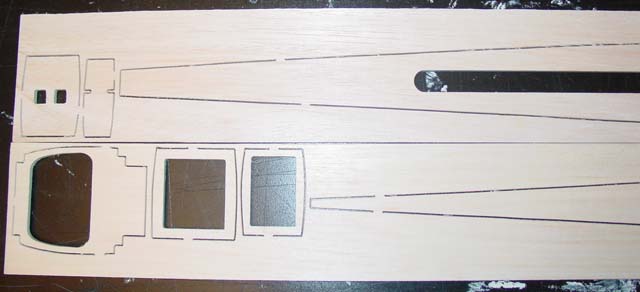

Modified Tank Area Plan:

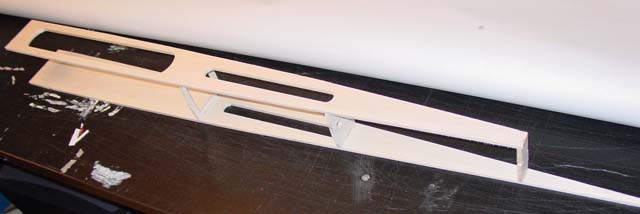
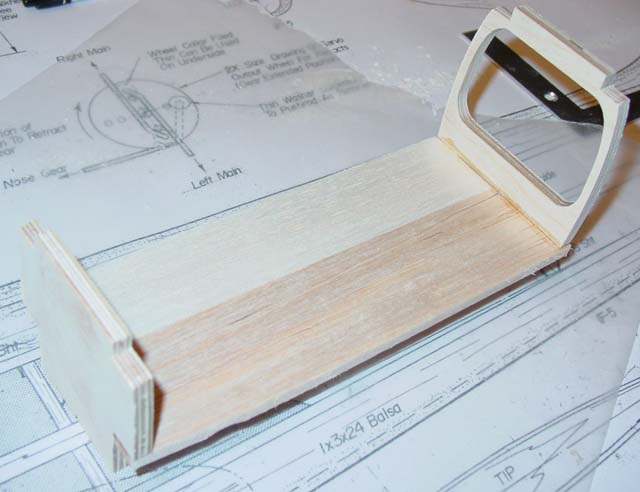
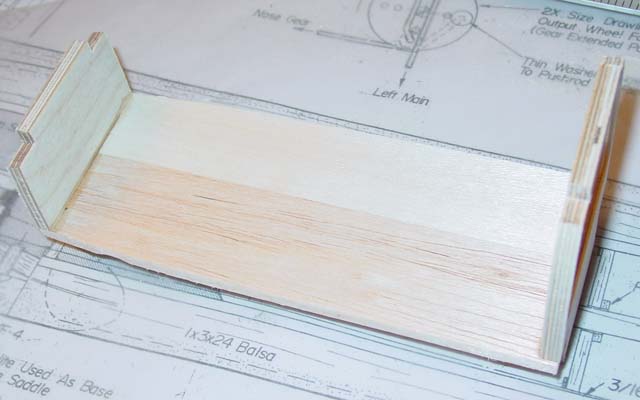
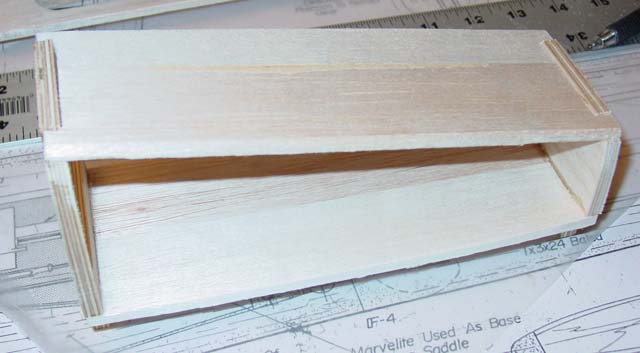
Rear structure:
Following the original MAN build article as closely as possible. I glued the bottom in place before doing the front section, my preference. Your mileage may vary. I also didn't install the 1/16" PLY strips along the top and bottom of the formers, I don't really think they add anything since the formers are already glued to the 3/16" top and bottom.
If anyone has found a good reason for them being there, let me know.
Front structure:
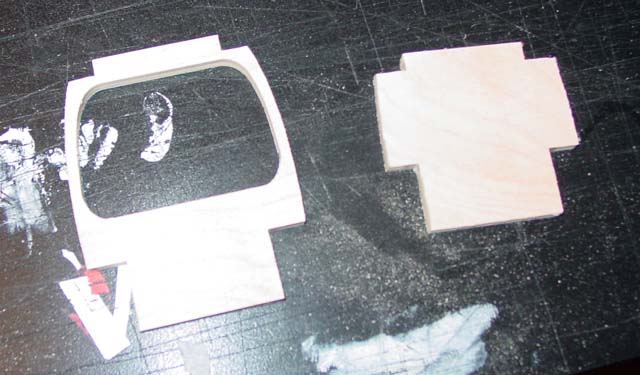
Former B3, was laminated from 3/16" balsa and 1/16" PLY, as per plans This is changed to 1/4" ply on the production version, to accommodate builders who wish to use a dowel mount on LE, instead of the four wing bolt method on plans. The 1/4" PLY will also give a little more rigidity that is lost without the 1/2" square wing mounts. B1 (nose ring) shows as two 1/6" pieces laminated. The production version will be 1/8" PLY.
The front structure construction starts with gluing the bottom precut 1/4" sheet. Be sure both formers are exactly 90 degrees vertical, square to and lined up with centerline. Also bevel both formers to accept top sheet before gluing. Also drill any motor mount / front nose gear holes, etc. before this step, if that is your usual method.
Top sheet added. Bevel inside edges to match formers. Verify formers remain in alignment during this step. Sand sheet edges as needed to achieve this.
From here, it pretty much follows the build article. Front structure is glued to rear structure. attach while both are upside down, verifying that all marks match centerlines, and bottom sheet is parallel to building board, and formers B2 & B3 are 90 degrees vertical. Sand fronts of 3/16" sheets if needed.
Top and bottom sheeting edges are sanded to match formers, to accept fuse sides, Fuse side are glued in place matching bottom sides. Top sides will slightly extend past top sheets. Sand level with top sheets. Be sure to sand to edges of B2 and B3 to match top sheet angle.
Bottom balsa filler block is 3/4" high, and wide enough to extend past fuse side.
Engine compartment is built as usual, with nose ring mounted to front of engine with spacer, and sides, bottom, and top are glued in place as required for engine mounting, then sanded to shape.
Bottom front sheet can be trimmed away as needed to accommodate retracts, if needed. At all joints, feel free to add any gussets , tri-stock, or braces as you see fit.
With a little sanding, and then sheeted, the bottom saddles from the foam wings can be used to fill under wing.
Have fun building and flying your Mach 1!
copyright 2021 EAC